Organizing All of Your Screenshots
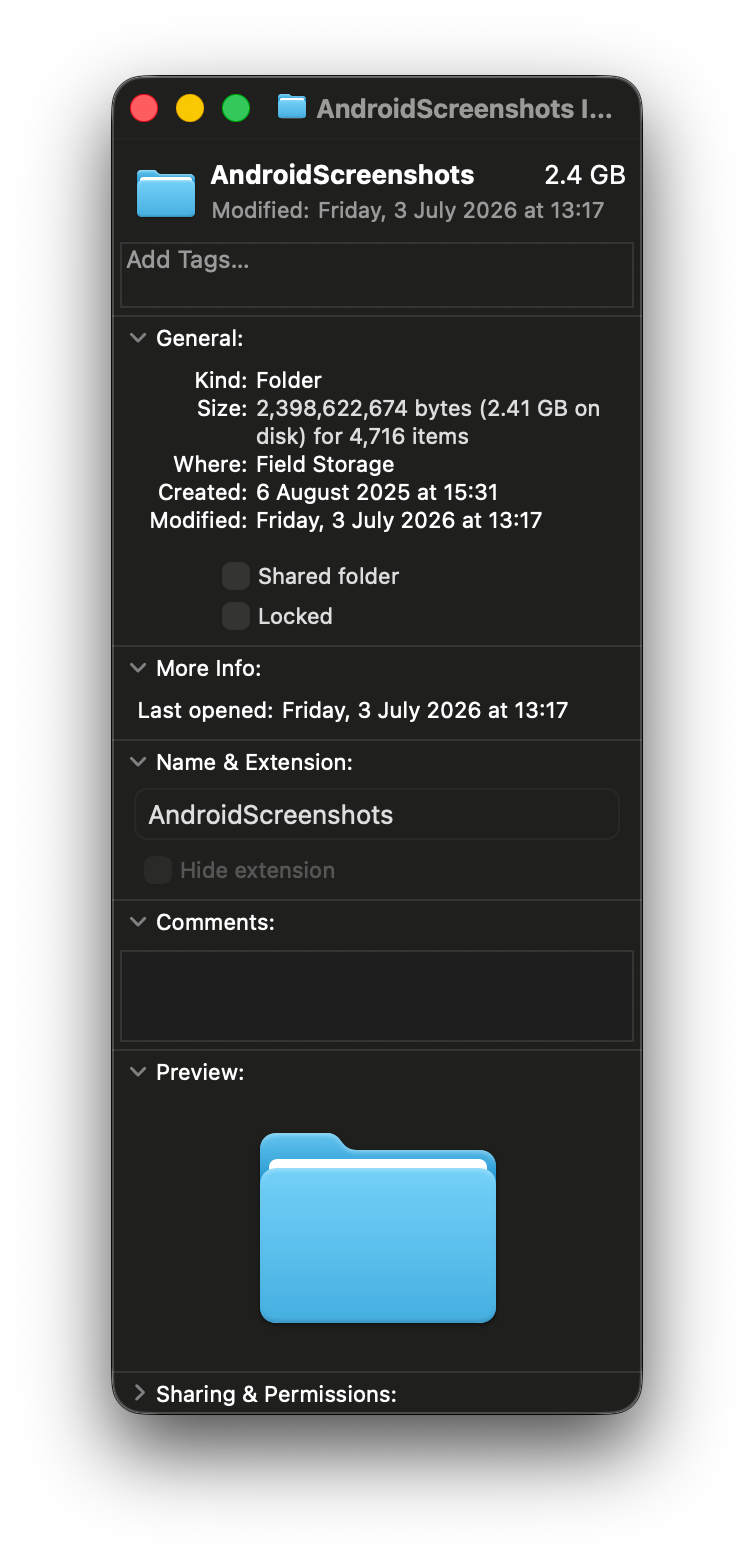
Screenshots… These days, we all have literally THOUSANDS of them. Although each image is usually small because screenshot resolutions tend to be much lower than those of photos taken with your rear camera, once you have thousands of them, the collection can be, uhhh, quite large.
Problems
Deleting them is most people’s choice, I suppose. But it always upsets me to think that I might have screenshotted useful credentials (I know it’s not safe, but hey, sometimes you don’t get to choose) or useful chat histories. I might not go over them anytime soon, but deleting them is just not my cup of tea.
Organizing
Manually going through your massive screenshot library can be a pain in the ass.
What if… there were a script that automatically analyzed all your screenshots, summarized and tagged them, and put them in the cloud? As it turns out, multimodal generative AI can help.
Basic concepts
Screenshots usually contain sensitive information because they capture our device screens, so the whole process had better stay offline—or at least avoid commercial AI services such as OpenAI, Anthropic, or Gemini.
After some research, I found that the Qwen 3 VL model was an ideal choice.
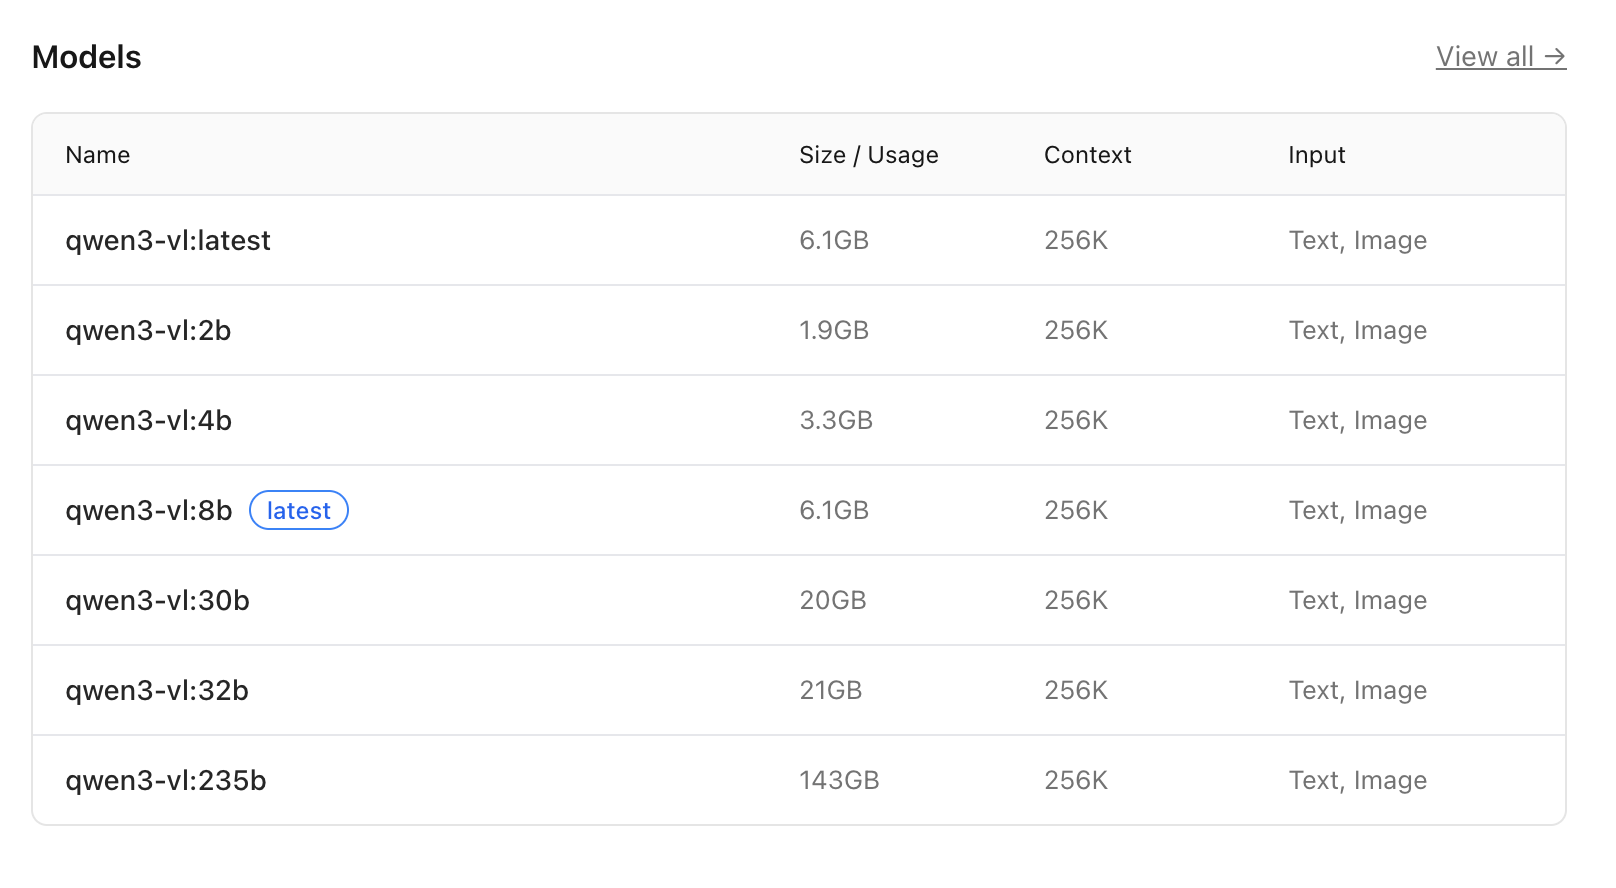
According to my testing, the 8b-instruct model is plenty for most use cases.
We won’t need
thinkingfor this, justinstructis perfect.
Power?
We will be using Ollama to run local LLMs. But as you may already know, LLMs require a LOT of computing power. I mean, actually A LOT. We will be using Qwen3-VL, a free multimodal model.
According to my testing, it works great with the default 8B-instruct model.
Running locally
I have asked AI to write written some scripts to automate the job. You can find them here. If you have Go installed locally, you can simply use go build ./cmd/* to build both scripts. Otherwise, you can download the prebuilt binaries for Windows and Linux from the Releases page. (There are no macOS binaries because Apple requires notarization and a signature, which I don’t have.)
screenshot-tagger is the main program for tagging your screenshots, while embed-metadata automatically embeds the metadata from the JSON files generated by the former into the screenshots. Note that you also need to have exiftool and heif-convert installed, as the script uses these two external tools. If you don’t have any HEIF photos, you can skip heif-convert. Both tools can be easily installed on Linux. On macOS, heif-convert is preinstalled, and you can install exiftool using Homebrew.
It’s easy to use: put your screenshots in a folder and run screenshot-tagger SOURCE_FOLDER.
Note that you need to have Ollama installed and pull whichever model you would like to use. By default, the script uses
qwen3-vl:8b-instruct. It’s a 6.3 GB model, so keep in mind that your GPU needs more than 6.3 GB of VRAM. Alternatively, you can specify another model or a smaller variant using--model whateverprovider/whatevermodel:variant, e.g.--model gemma4:e4b.
In my case, I run the script on my base-model 14-inch MacBook Pro (M5, 2025), and it takes around 20 seconds per picture. Good enough for what I do.
Running in the cloud
If, like me, you don’t have a beast on hand (and by beast, I mean something like an NVIDIA datacenter GPU, such as an A100 or L4), there’s another option: Google Colab.
The free tier is generous enough, offering access to a non-guaranteed NVIDIA T4 GPU that is available almost all the time, subject to fair-use limits. Its performance is roughly comparable to that of a 10-core Apple M5, at about 20 seconds per picture.
T4 is a really old GPU from 2018, but it’s free and you don’t get to choose if you are on the free tier.
Note that you will need to upload your photos to Google Drive first.
You can get the Colab notebook here. Click Open in Colab to open the notebook in Google Colab. Once you have opened it, go to Runtime -> Change runtime type and change your runtime to T4 GPU.
Run every part of the notebook by clicking the play button next to each cell. MAKE SURE TO CHANGE SCREENSHOT_DIR to the actual path. /content/drive/MyDrive or /content/drive/Shareddrives is the required prefix.
By default, it is set to an A100 GPU because I’m on the Colab Pro plan.
If you have a lot of pictures to process, I strongly suggest upgrading to Colab Pro and switching to an A100 GPU. It’s four times as fast as a T4; with the worker count set to 2, each picture takes around 10 seconds to analyze.
The cloud notebook ONLY does the first part of the job. You need to download all the JSON files back to your local machine and use embed-metadata to integrate the generated tags into the pictures themselves.
Showcase
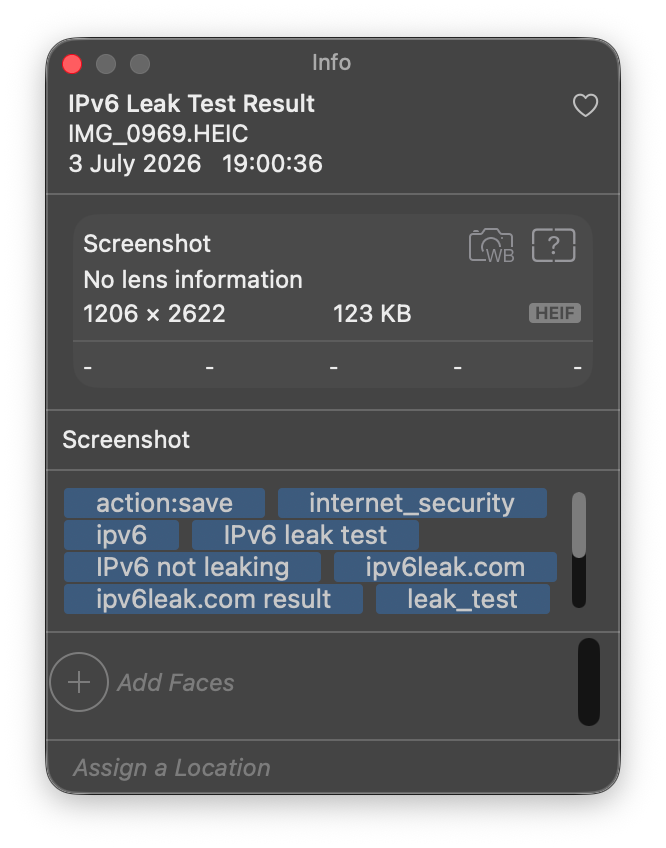
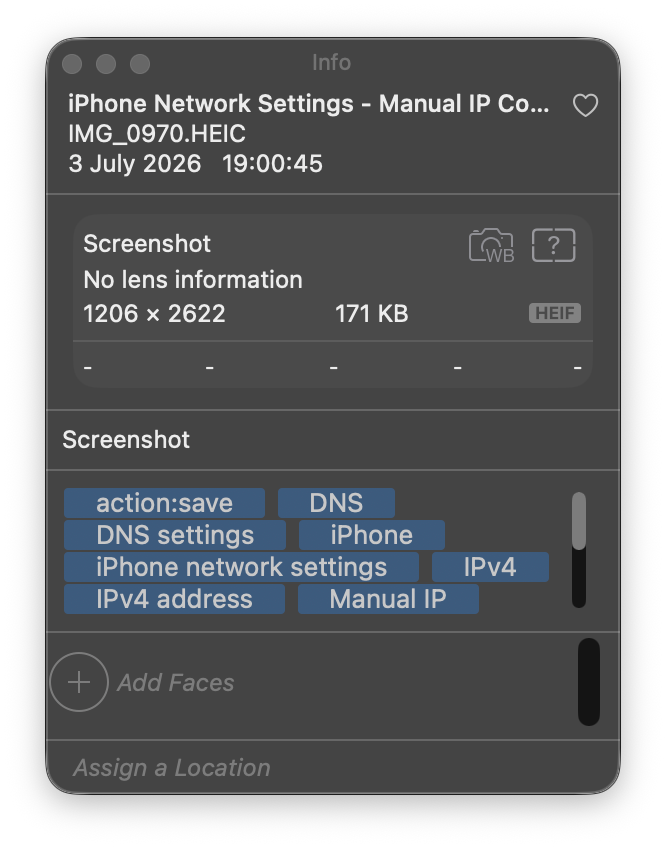
Now, let’s assume you have done everything and have an entire folder of tagged screenshots. If you are nerdy enough and willing to code a search system yourself, this could benefit you a lot. But if you are like me and use macOS, you have a better tool—Apple Photos.
Simply open the Photos app while holding the Option key, click Create New to create a new Photos Library, and then use the Import function to import all the screenshots.
Outro
I’m personally pretty happy with this solution. 😏