Accelerating vanity PGP with NVIDIA® CUDA™ or Metal®
Intro
A few years ago, I wrote Vanity GPG Keys, a post about generating GPG keys with custom key IDs. The tools I covered used either the CPU (vanity-gpg) or an NVIDIA GPU through CUDA (gpg-fingerprint-filter-gpu).
That left me with a small problem: I use a Mac.
Why Metal?
Searching for a vanity fingerprint means trying a lot of candidates. A CPU can do the work, but this kind of repetitive calculation is a good fit for GPU acceleration. I wanted to put the GPU in my Mac to work.
Apple provides Metal, its graphics and compute API, for exactly this kind of GPU workload. Projects such as TransparentLC/opencl_vanity_gpg already support GPU acceleration through OpenCL. However, Apple deprecated OpenCL in macOS 10.14 and recommends moving to Metal.
So I added a Metal backend to gpg-fingerprint-filter-gpu. My fork is available at dotfrankruan/gpg-fingerprint-filter.
How it works
The original NVIDIA CUDA backend is still there. The build selects Metal on macOS and CUDA on Linux, with the same command-line interface for both.
For this project, that means separate builds for Apple Silicon Macs and Linux machines with NVIDIA GPUs. NVIDIA’s CUDA 10.2 was the last release to support macOS, so CUDA is not an option for the GPU in my Apple Silicon Mac. Metal fills that gap.
Running it on macOS
Prebuilt binaries for Linux and macOS are available on GitHub Releases. This walkthrough focuses on the Apple Silicon macOS build; the Linux version retains the original CUDA backend.
I don’t provide Windows prebuilts. I don’t have a Windows machine or an NVIDIA GPU to test them on, so a Windows build would need to be compiled and tested separately.
Building locally is the recommended option on macOS, but the prebuilt archive is a convenient way to get started. Install libgcrypt, download and extract the archive, then apply a local ad-hoc signature:
brew install libgcrypt
curl -fLO https://github.com/dotfrankruan/gpg-fingerprint-filter/releases/latest/download/gpg-fingerprint-filter-gpu-macos-arm64.tar.gz
tar -xzf gpg-fingerprint-filter-gpu-macos-arm64.tar.gz
codesign --force --sign - ./gpg-fingerprint-filter-gpu
./gpg-fingerprint-filter-gpu --device-info
The ad-hoc signature is local to your copy; it is not an Apple Developer ID signature or notarization. Keep fingerprint_metal.metallib in the same directory as the executable—the Metal backend needs it at runtime.
If everything is working, the last command should print your GPU’s name. On my Mac, it reports:
GPU device: Apple M5
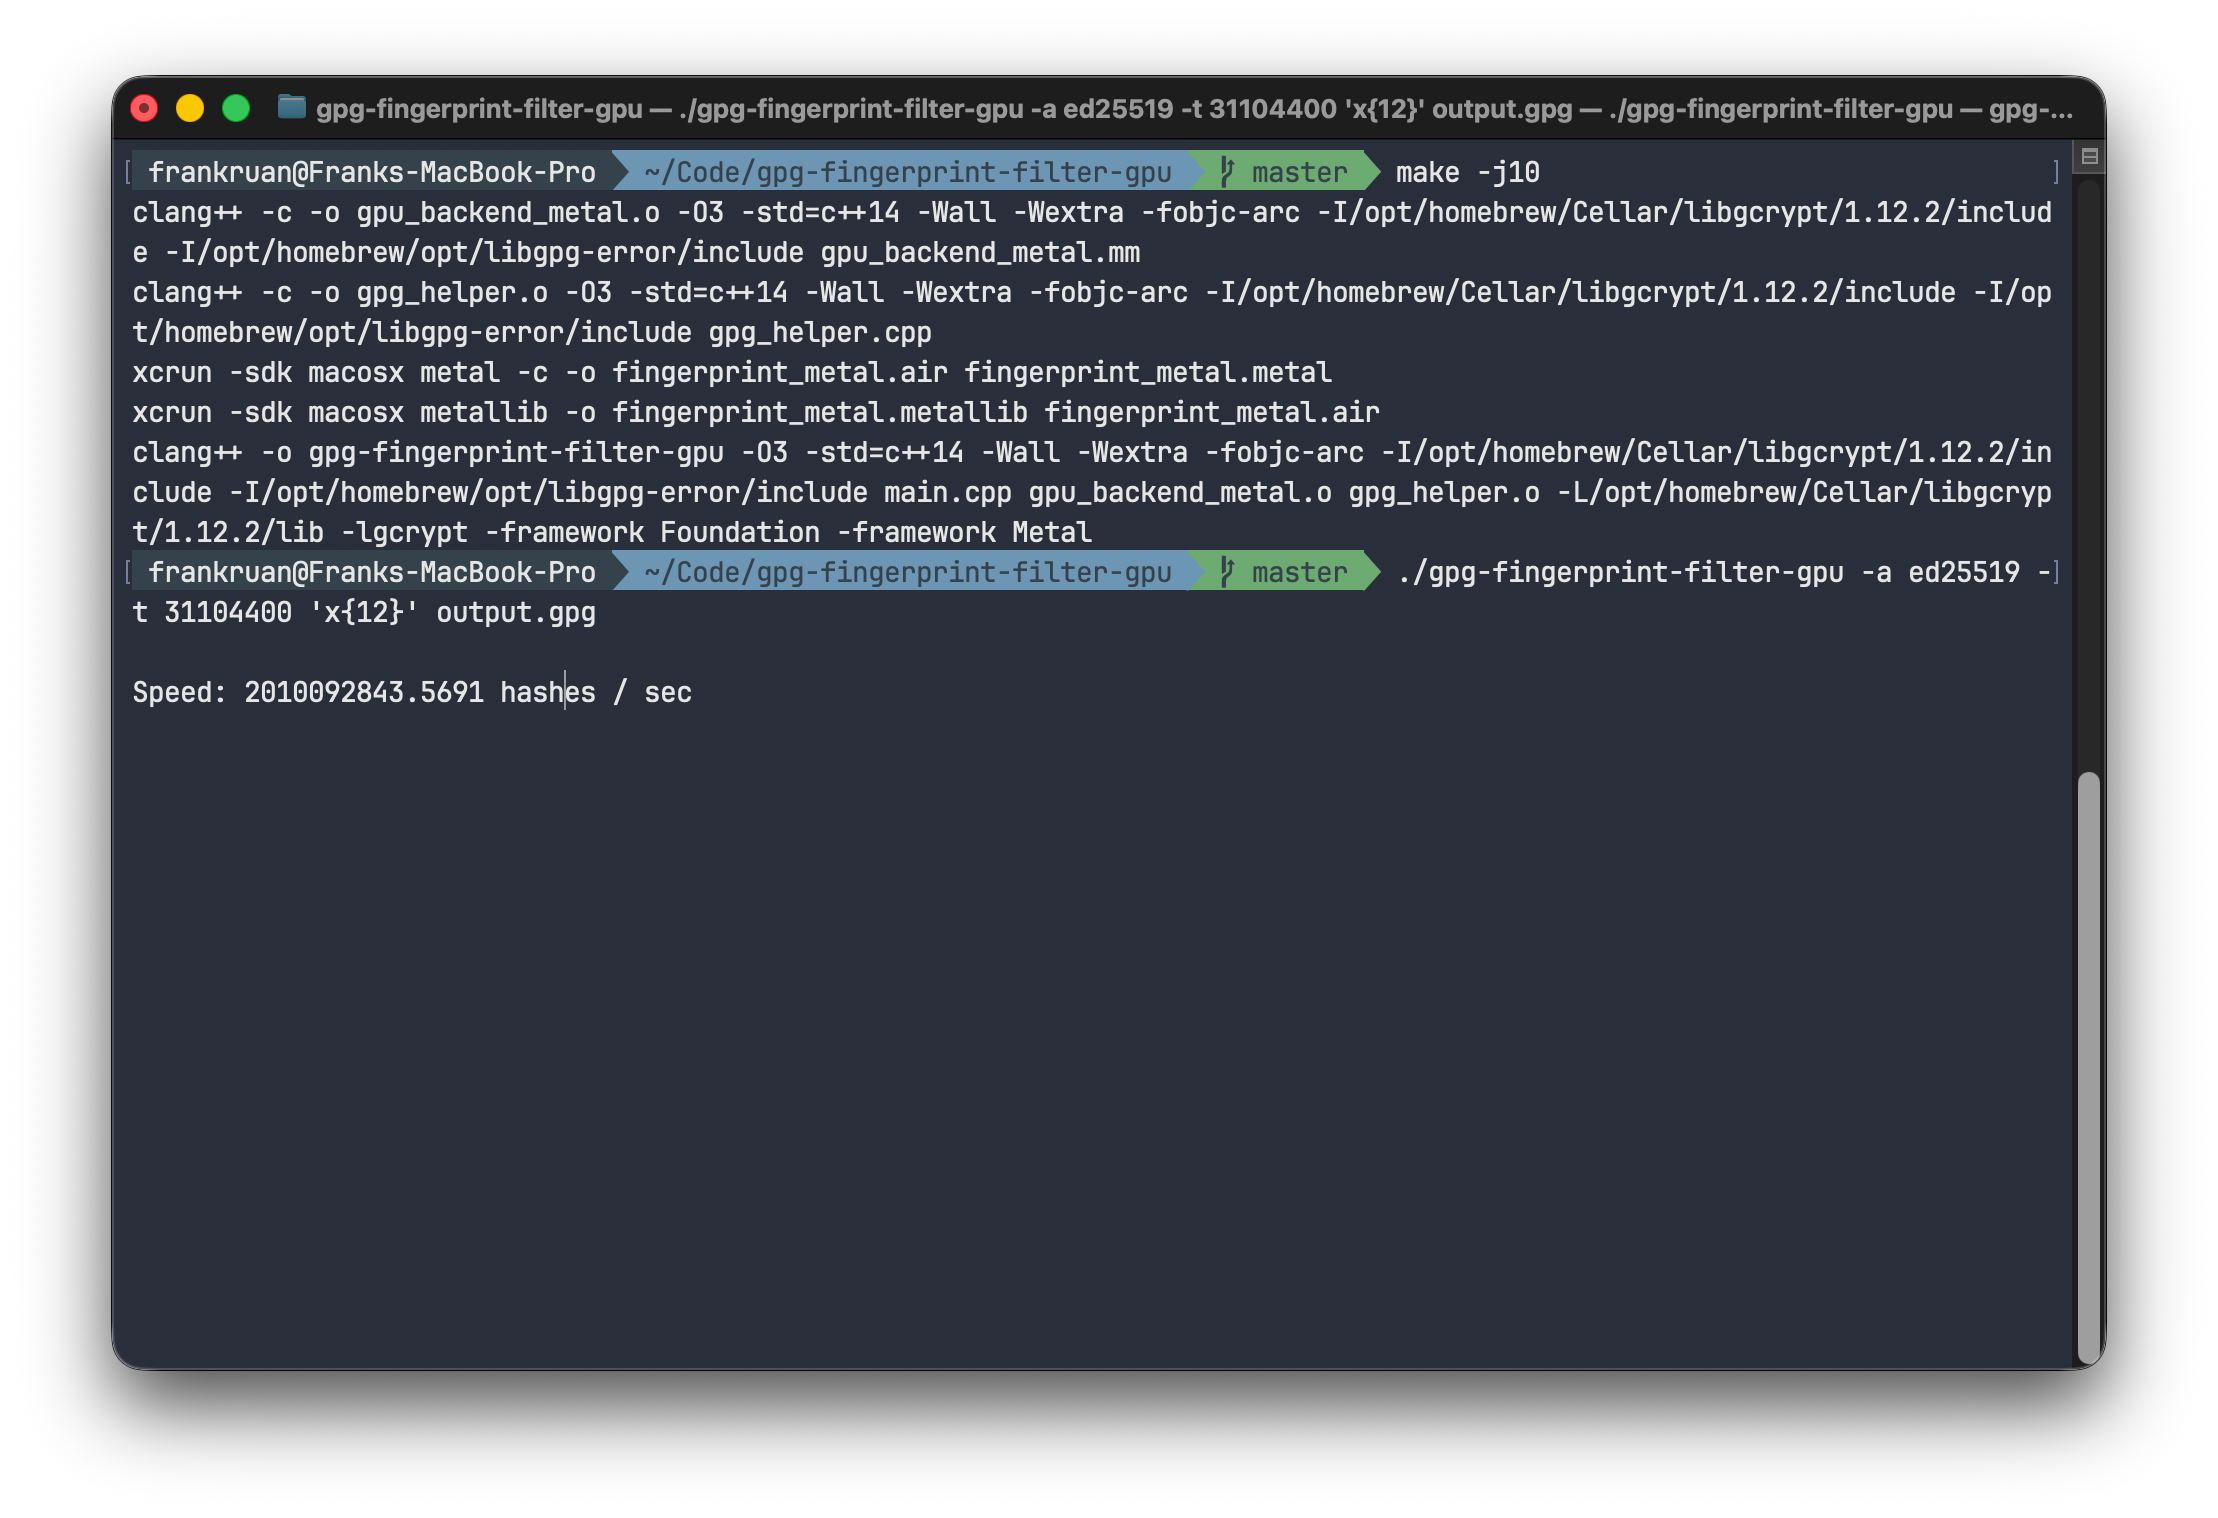
To search for a fingerprint ending in deadbeef and save the generated key in ./keys, run:
./gpg-fingerprint-filter-gpu deadbeef ./keys
For build instructions, more pattern examples, and the steps to import the generated key into GPG, see the project README.
On my Apple M5, Ed25519 fingerprint searches reach around two billion hashes per second. It is nice to finally put my Mac’s GPU to work on this.